
Creating Columns with Drag and Drop

Columns allow you to arrange content side-by-side in your wiki pages. Instead of using menus or toolbars, you create columns naturally by dragging content where you want it. This is perfect for comparisons, layouts with images alongside text, or any time you need a multi-column design.
Using the Drag Handle
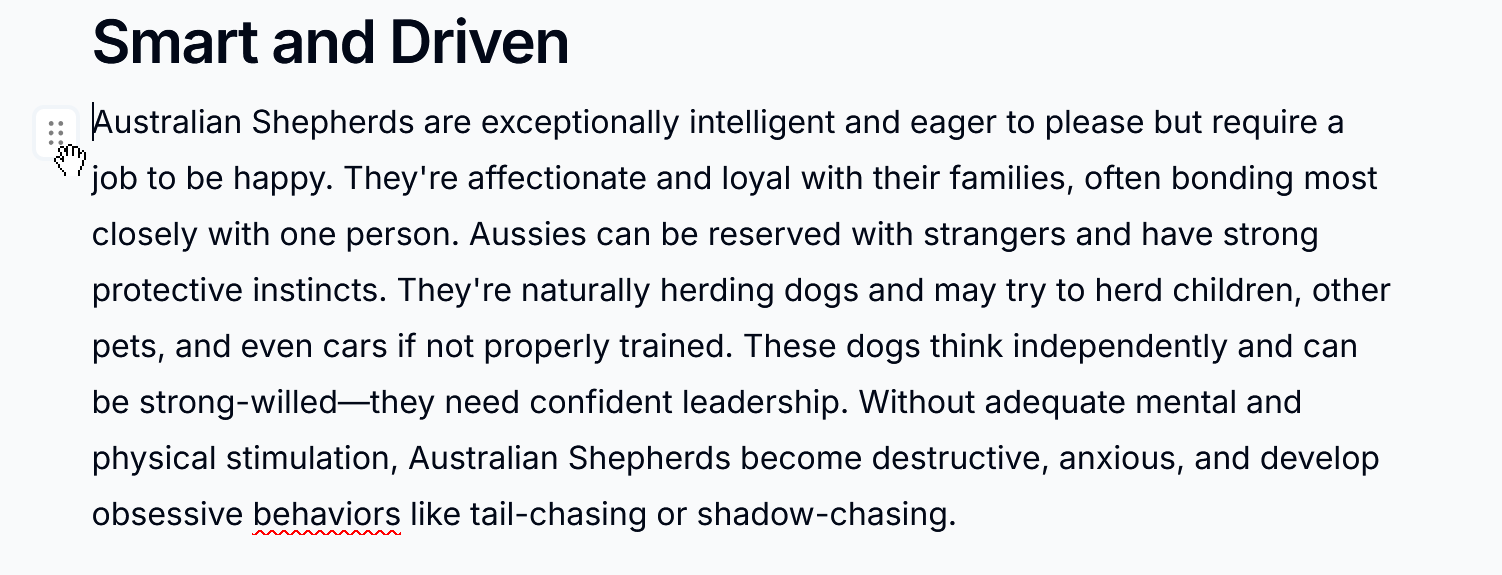
Every block of content in the editor has a drag handle that appears when you hover near it.
- Move your mouse over any content block (paragraph, heading, image, etc.)
- A drag handle icon appears on the left - it looks like a grid of six dots
- Click and hold the drag handle to start dragging
Creating a Two-Column Layout

To create your first column layout, drag one block next to another.
- Hover over the content you want to move and grab the drag handle
- Drag the content toward the right edge of another block
- Watch for a vertical line indicator showing where your content will land
- Release to create a two-column layout
The block you dragged to becomes the left column, and the block you dragged becomes the right column.
Adding More Columns
You can add up to six columns in a single column block.
Adding to the Edges

- Drag content toward the left or right edge of an existing column block
- When you see the drop indicator at the edge, release to add a new column
Inserting Between Columns

- Drag content into the gap between two existing columns
- A vertical indicator appears in the gap
- Release to insert a new column between them
Warning
Column blocks support a maximum of 6 columns. If you already have 6 columns, you won't be able to add more to that block.
Moving Content Within Columns

Once you have columns, you can reorganise content within them.
- Grab the drag handle of any block inside a column
- Drag it to a new position within the same column or into a different column
- The drop indicator shows where the content will be placed
- Release to move the content
Removing Columns
Columns stay in place when you drag all the content out of them, so the layout doesn't change under you. To tidy up, open the block menu on the columns:
- Delete column - removes one column and its content. A column block needs at least two columns, so this isn't available when only two are left
- Unset columns - removes the columns and puts their content back into the normal page layout, one block after another
Tips for Working with Columns
Drag to the padding area
You can also create columns by dragging content to the left or right padding area (the margins) of the editor. This works the same as dragging to a block's edge.
Nested columns
You can create columns within columns for more complex layouts. Drag content to the edge of a block that's already inside a column to nest another column layout.
Reading width
Columns get more room on a wider page. Hover over the page title and click Reading width to choose a width for this page, or for every page in the wiki with Wiki default.